As an Amazon Associate, we earn from qualifying purchases. Some links may be affiliate links at no extra cost to you. Although our opinions are based on curated research, we haven't used these products. Articles generated with AI.
How To Clean A Blender Properly?
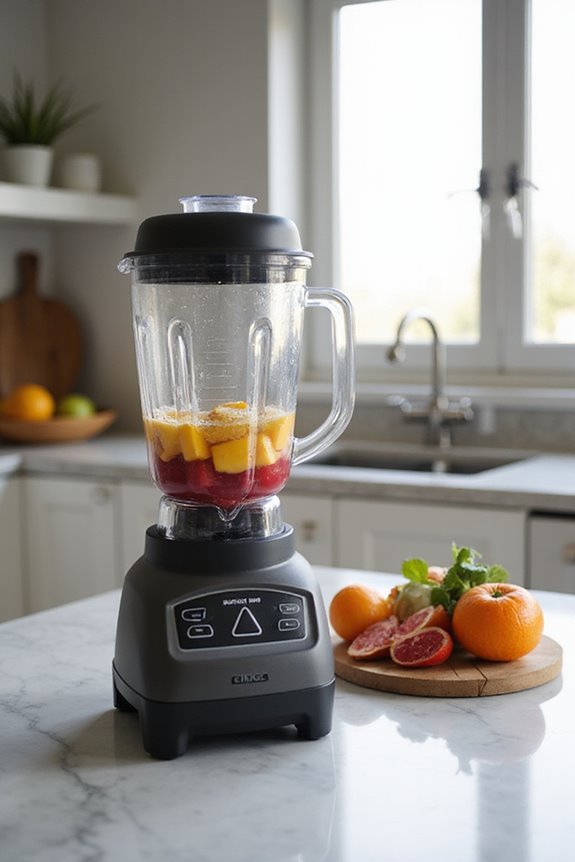
Cleaning a blender properly is essential for a smooth blending experience. Historically, blenders have been blending up feasts since the 1920s, and keeping them clean guarantees they last. Start by adding 1–2 tablespoons of dish soap and warm water, secure the lid, and blend on high for 60 seconds. Rinse thoroughly. For deeper cleansing, mix lemon juice and baking soda to tackle stubborn odors. And if you’re curious about more tips to maintain your blender’s performance, stick around!
Key Takeaways
- Clean the blender immediately after each use by rinsing or using the soap-and-water blending method to prevent residue buildup.
- For deep cleaning, blend warm water with a few drops of dish soap, then rinse thoroughly to remove debris and odors.
- Regularly inspect and maintain blades and rubber gaskets to ensure optimal performance and prevent leaks.
- Use soft sponges or cloths for cleaning and avoid abrasive materials that can scratch surfaces.
- Air dry the blender upside down to prevent moisture buildup and potential mold growth.
Importance of Regular Cleaning
You may be interested


When it comes to keeping your blender in top shape, regular cleaning is as essential as the smoothies we whip up in it. Did you know that the frequency of cleaning can greatly reduce microbial growth? If food residue lingers, it creates a perfect environment for bacteria and mold to thrive, and I’d bet no one wants that in their kitchen! When I neglect cleaning, I found that not only do odors develop, but my blender’s performance drops, too. It’s important to clean every component, especially the blades and lids, as they harbor hidden contaminants. So, make it a habit to wash your blender frequently. This simple practice guarantees delicious smoothies and keeps you healthy, all while extending your blender’s life!
Immediate Cleaning Steps After Use
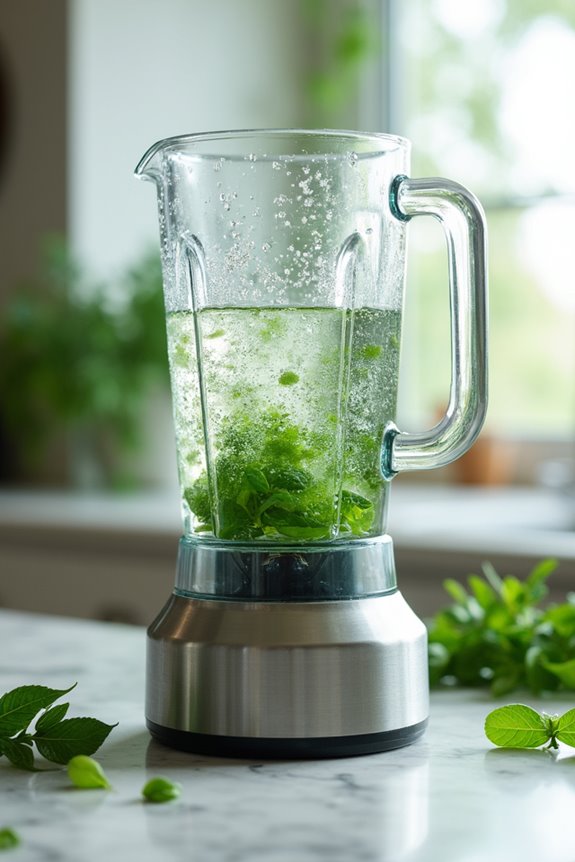
Cleaning your blender right after use can feel like a chore, but it’s crucial for maintaining its performance and keeping your kitchen free from unwanted visitors like bacteria. You might not know this, but ancient civilizations made efforts to clean their kitchen tools as a matter of hygiene. I recommend starting with an immediate rinse technique. First, add 1–2 tablespoons of dish soap to the jar, then fill it halfway with warm water to loosen stubborn bits. Secure the lid and blend on high for 60 seconds, followed by 30 seconds on low. Finally, rinse thoroughly with clean water to guarantee no soap residue remains. Trust me, this quick cleanup will save you time and hassle later!
Quick Rinse Method
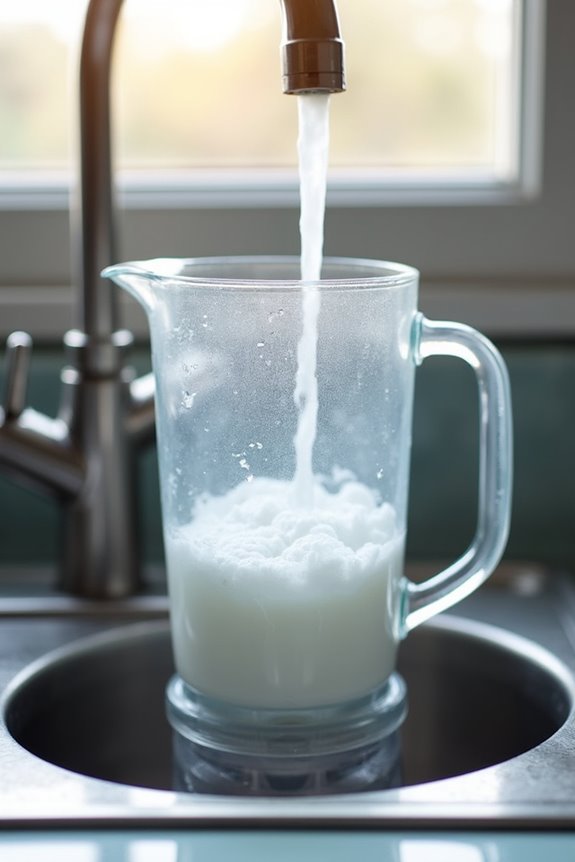
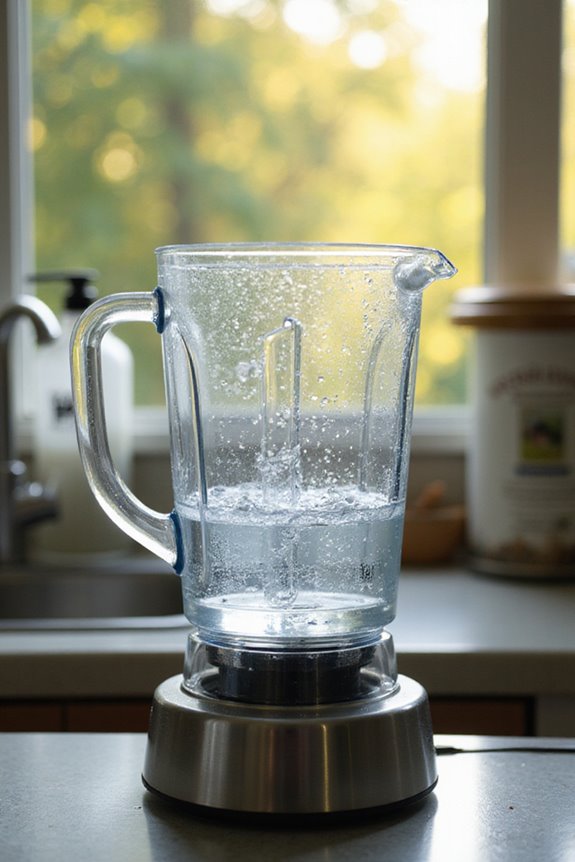
To keep your blender in top shape, mastering the quick rinse method can be a game changer. This time-saving technique has roots going back to kitchen efficiency innovations, showing we’ve always sought to simplify our chores. Start by filling your blender jar halfway with warm water and add a bit of mild dish soap. Secure that lid tightly—no one wants a soapy explosion! Blend on high for 20 seconds; the motor’s power will break down any stuck-on food residues. After, pour out the soapy water and rinse thoroughly with clean warm water, shaking gently to dislodge leftovers. Finally, dry with a microfiber cloth to maintain hygiene and extend your blender’s life. With this quick rinse, you’ll improve your cleaning efficiency effortlessly!
Deep Cleaning Procedure
While we often think of cleaning as a mundane chore, deep cleaning a blender can be surprisingly satisfying and a nod to the age-old quest for kitchen efficiency. To start my blender cleaning ritual, I fill the jar halfway with warm water, then add a few drops of dish soap—too much suds can make a mess! I secure the lid and blend on low, gradually cranking it up to high for about 30-60 seconds. After that, I rinse thoroughly with clean water and let the jar air dry upside down. For stubborn odors, blending a mix of lemon juice and baking soda works wonders. Trust me, a deep clean will elevate your blending game to a whole new level!
Maintenance Tips for Optimal Performance
After putting in the effort to deep clean your blender, keeping it in top shape is the next logical step. Regular blade maintenance can prevent up to 80% of blending issues related to dullness. I check the blades for corrosion and sharpness often, ensuring they perform well. Don’t forget to inspect rubber gaskets for cracks that could cause leaks. Proper use is essential, too—overfilling or blending overly hard foods can strain the motor. Also, applying a food-safe lubricant to the motor couplings and blades, if recommended by the manufacturer, boosts efficiency by about 15%. Just remember, don’t over-lubricate, or you might attract debris instead. Keep an eye on these details, and your blender will serve you well!
Safety and Hygiene Considerations
When it comes to using a blender, understanding the importance of safety and hygiene is key, especially since blenders have been around since the early 20th century. To avoid hygiene risks, unplug your blender before cleaning; I can’t stress that enough! Using a soft-bristled brush around the blades helps prevent accidental injuries. Also, skip the harsh chemicals—stick to food-safe options instead. It’s vital to dry all parts thoroughly to discourage bacterial growth, especially after mixing dairy or protein. Remember, cross-contamination can ruin your recipe and affect taste. Regularly cleaning your blender can greatly reduce health risks and keep it running efficiently. So, let’s keep those smoothies safe and tasty!
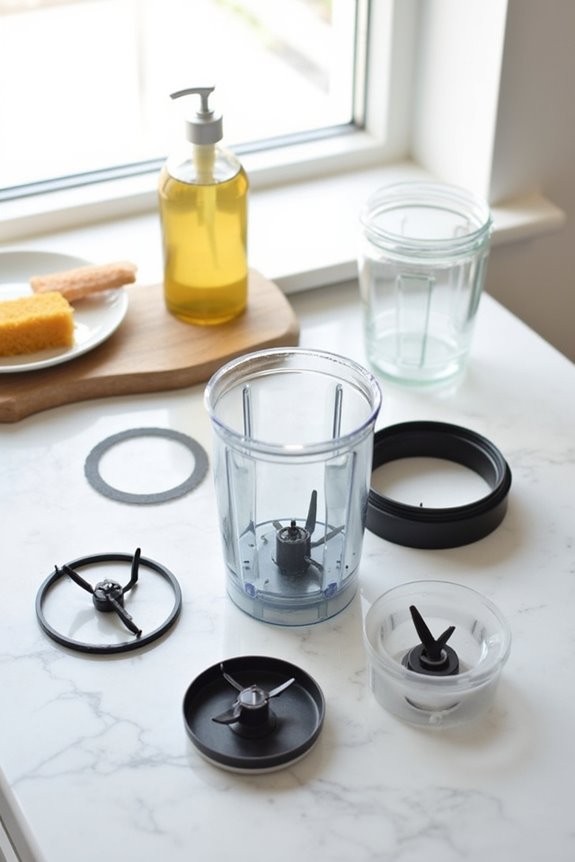
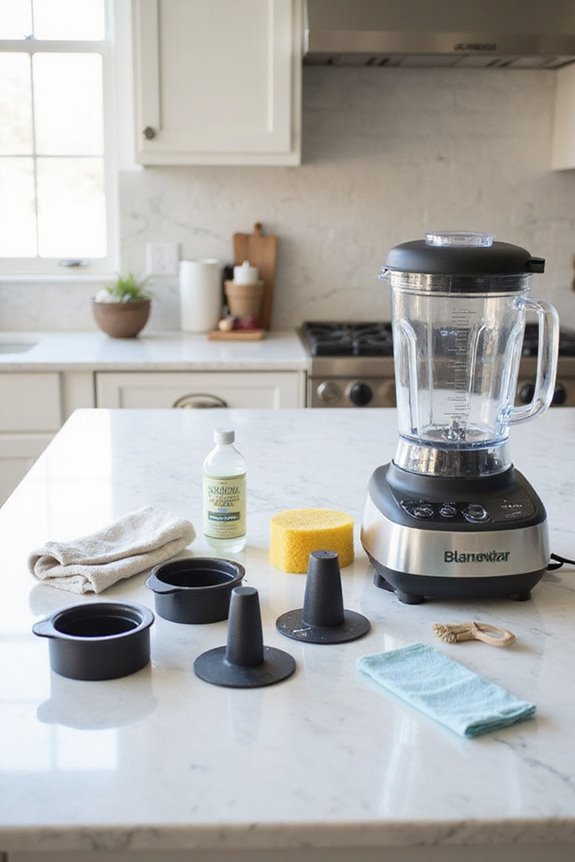
Tools and Supplies Needed for Cleaning
Cleaning your blender might seem straightforward, but knowing the right tools and supplies can make the process even smoother. To tackle this task effectively, start with some essential cleaning tools: a soft sponge or cloth, dish soap, and warm water. These will help break down grease without scratching your blender jar.
For more intricate cleaning, consider using a cleaning brush to reach those tricky areas like blades and crevices. A microfiber cloth is great for wiping down the base. Don’t forget about rubber gloves to keep your hands safe while cleaning! Finally, have some cotton swabs handy for those small spaces. With these cleaning supplies, you’ll have everything you need to keep your blender sparkling clean!
How to Remove Stubborn Stains and Odors
Even if you’ve got a blender that’s seen better days, there are plenty of methods to tackle those stubborn stains and odors that cling to its jar like a bad reputation. One of the oldest tricks involves using the juice of one lemon, two to three tablespoons of baking soda, and a cup of water. Blend on high for 30 seconds for effective stain removal and odor neutralization, then scrub with a non-scratch sponge.
Alternatively, try a fizzing mix of 1/4 cup vinegar, two tablespoons of baking soda, and hot water. Let it sit to break down tough stains. For extreme cases, a soak in dishwasher detergent or even denture tablets can work wonders. Rinse thoroughly, and your blender will thank you!
Dishwasher-Safe Parts and Care
After tackling those stubborn stains and odors, it’s time to shift focus to the parts of your blender that can withstand the might of the dishwasher. Most blender components, like the jar and lid, are dishwasher safe—just avoid the motor base! I always place these parts on the top rack to protect them from high heat. For cleaning frequency, a quick dishwasher cycle on gentle settings is great, but hand-washing the blades can help keep them sharp. And don’t forget to check your manufacturer’s instructions; they know their parts best. Regular care can make all the difference. In history, even blenders had humble beginnings—nobody wants them backslide into murky, old-world cleaning methods! Additionally, models with detachable parts can significantly simplify your cleaning routine.
Inspecting and Maintaining Seals and Gaskets
While blending ingredients for your favorite smoothie, it’s easy to forget about the often-overlooked seals and gaskets that play an important role in your blender’s performance. Regular seal inspection is significant; I always check for wear, cracks, or leaks to avoid messy mishaps. When disassembling parts, be gentle and use warm soapy water for cleaning. This guarantees that gaskets remain elastic and functional. After a thorough cleaning, I make certain seals are dry—moisture can lead to mold! During gasket maintenance, I rotate blade assemblies by hand, checking for smooth operation. If you notice any distortion or leaks, it’s time to replace them. High-quality stainless steel blades are also crucial for ensuring an effective blending experience. Remember, keeping those seals in top shape is imperative for a reliable blender experience!
Frequently Asked Questions
Can I Use Bleach to Clean My Blender?
Can I really risk using bleach to clean my blender? I’ve found that bleach alternatives like vinegar or dish soap are much safer. They clean effectively without damaging my blender or risking my health.
How Can I Sanitize My Blender Effectively?
When it comes to effectively sanitizing my blender, I prefer using natural cleaning solutions like vinegar or baking soda. Combining these with proper sanitizing methods keeps my blender clean and free from bacteria without harsh chemicals.
What Should I Do if My Blender Smells Bad?
If my blender smells bad, I try blender odor removal with natural deodorizers. I blend warm water and white vinegar for a few seconds; it works wonders in breaking down residues and freshening up my blender.
Is It Safe to Blend Hot Liquids in a Blender?
Is it safe to blend hot liquids? I get nervous every time. Blender safety’s vital! If done correctly—vent the lid, start slow—you’ll minimize risks. Just remember, splatters can happen, so stay cautious and prepared!
How Often Should I Replace Blender Parts?
When it comes to blender maintenance tips, I’ve found sticking to a replacement schedule is key. I check blades every 6-12 months and gaskets every 1-2 years to guarantee peak performance and safety.