As an Amazon Associate, we earn from qualifying purchases. Some links may be affiliate links at no extra cost to you. Although our opinions are based on curated research, we haven't used these products. Articles generated with AI.
How To Make Nut Milks With A Blender?
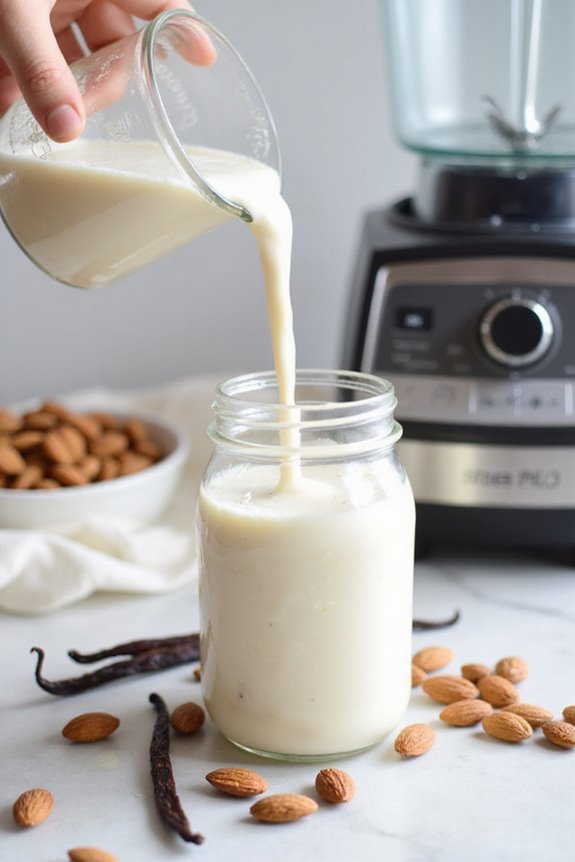
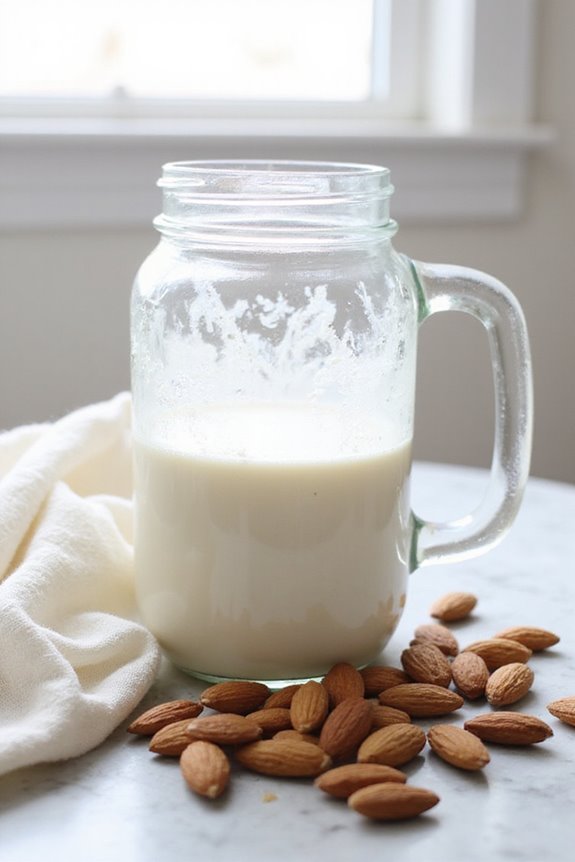
Making nut milk with a blender is a straightforward process that dates back centuries. First, choose your nuts—almonds or cashews are great for beginners. Soak them for 8 to 12 hours to improve digestibility. After rinsing, blend one cup of soaked nuts with 3.5 to 5 cups of water until smooth. Strain the mixture, and voilà! You’ve got nut milk. With some tweaks and flavors, you can truly customize it, and there’s so much more to explore.
Key Takeaways
- Soak your chosen nuts for 8–12 hours to enhance digestibility and nutrient absorption before blending.
- Use a high-speed blender to achieve the desired creaminess, blending for 1–2 minutes after pulsing.
- Blend nuts with water in a ratio of 3½ to 5 cups per cup of soaked nuts for optimal consistency.
- Strain the blended mixture using a nut milk bag or cheesecloth for a silky, smooth nut milk.
- Enhance flavor with spices, fruits, or sweeteners, blending until well incorporated before chilling.
Selecting the Right Nuts for Nut Milk
You may be interested


Have you ever wondered which nuts make the best nut milk? The nut selection can make all the difference. Historically, almonds and cashews reign supreme for their low-calorie options and mild flavor profiles. Meanwhile, macadamia nuts provide a rich, buttery texture but can be pricey. Brazil nuts? They’re creamy but come with high selenium levels, so moderation is key. Don’t forget pistachios! They offer a strong flavor, though their high cost limits regular use. When considering nutritional benefits, blends like macadamia and almond create a delightful balance. Always check nut availability, as prices fluctuate based on seasonal factors. Ultimately, consider both health aspects and cost considerations to find your perfect nut milk recipe; it’s all about finding what suits your taste and budget!
Soaking Nuts: Importance and Time

Soaking nuts can feel like a simple step, but it’s a game changer when it comes to making nut milk. Historically, soaking has been used to activate sprouting and neutralize enzyme inhibitors, enhancing digestibility. The soaking benefits are significant—not only does it improve nutrient absorption, but it also reduces phytic acid, which can hinder mineral absorption. For most nuts, a soaking duration of about 8–12 hours, preferably overnight, is ideal. Harder nuts like almonds tend to require longer soaking. Make sure to cover the nuts with filtered water in a bowl, leaving room for them to expand. After soaking, drain and rinse well to remove any residual inhibitors. Trust me, it’s worth the wait for a smoother, creamier nut milk!
Blending Techniques for Perfect Nut Milk
When it comes to making perfect nut milk, a solid blending technique is key. Historically, ancient cultures crafted nut milks using rudimentary tools, but today, we have blenders to simplify the process! Start with the right water ratios—typically between 3½ to 5 cups per cup of soaked nuts, depending on how creamy you want it.
Begin with pulse blending to break down large chunks, then switch to high-speed blending for about 1 to 2 minutes. This emulsification technique guarantees a smooth texture without overheating the nuts. Remember, blending speeds matter; higher speeds yield creamier milk.
Finally, strain your mixture to achieve that silky smooth consistency. With these techniques, you’ll master nut milk in no time!
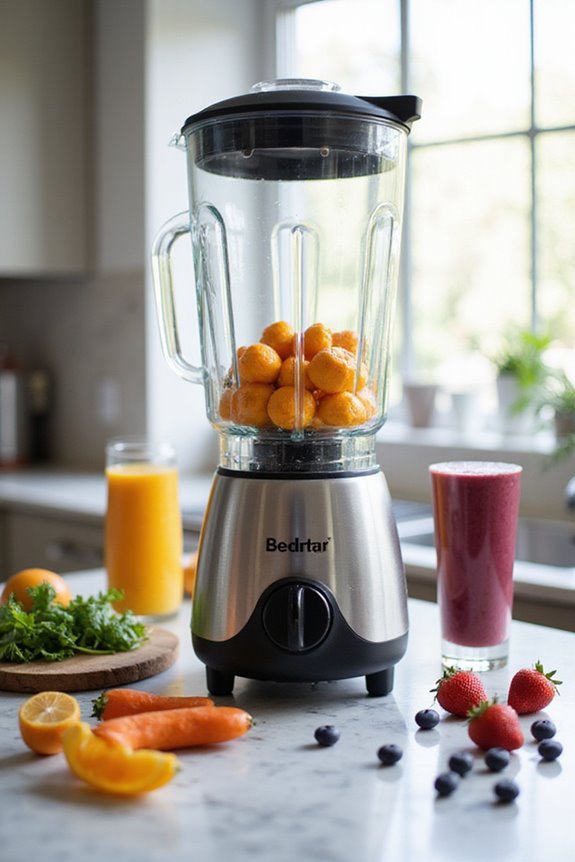
Essential Equipment: High-Speed Blender
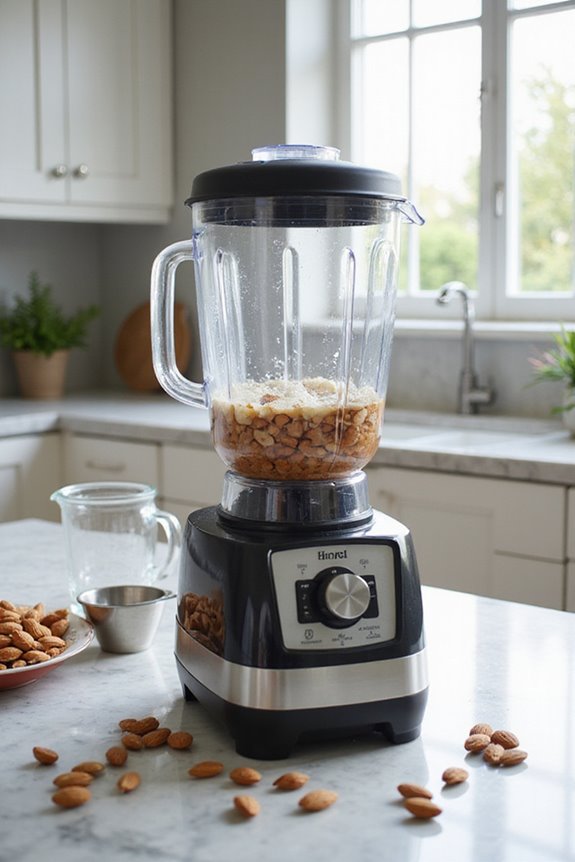
Creating nut milk is an age-old practice that dates back centuries, with early cultures using makeshift tools to extract these creamy delights from nuts. Today, a high-speed blender like a Vitamix or Blendtec is an essential tool, making the process easier and more efficient. These powerful machines deliver high speed benefits, effortlessly blending tough nuts into a creamy consistency without the need for soaking. For best results, experiment with nut-to-water ratios and guarantee regular cleaning with these blender maintenance tips to maintain peak performance. While the initial investment may be higher than dedicated nut milk makers, the versatility of a high-speed blender means you can whip up smoothies, soups, and nut butters, truly making it a worthwhile addition to your kitchen. Additionally, Blendtec blenders are particularly noted for their high blending efficiency, ensuring a smooth and even texture in your nut milk.
Incorporating Flavor Add-ins and Sweeteners
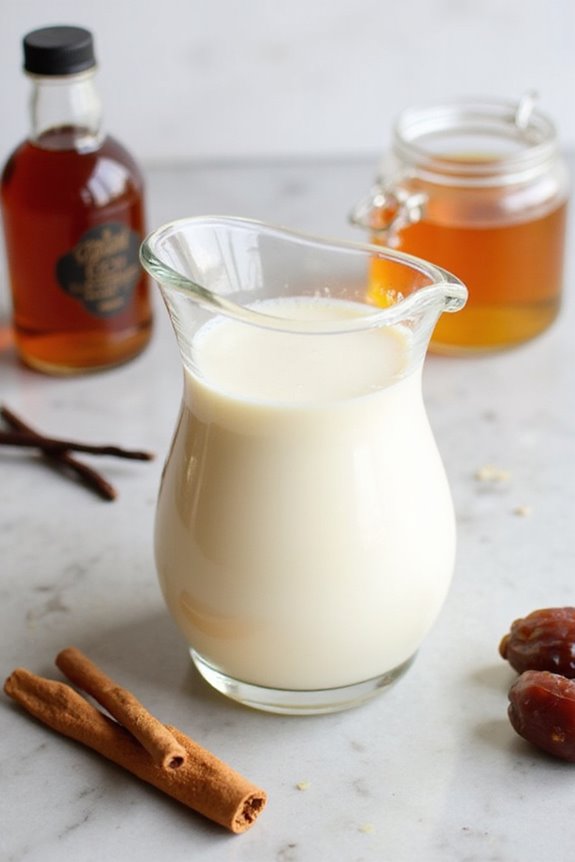
Although nut milk has been enjoyed for centuries in various cultures, the art of enhancing its flavor with add-ins and sweeteners is a relatively modern twist. To start your flavor enhancement journey, consider adding spices like cinnamon or cardamom for warmth. Fresh fruits, such as blueberries, bring a revitalizing taste.
For sweetener choices, dates lend a caramel touch, while honey and maple syrup add rich sweetness. Begin with small amounts and blend them in until smooth. Chilling the nut milk after incorporation helps the flavors meld beautifully.
Feel free to experiment with different combinations—after all, even the ancient Egyptians likely added something extra to their nut milks! Keep adjusting until you find your perfect blend.
Straining Nut Milk: Methods and Tools
Straining nut milk is a crucial step in the process, ensuring we get that silky smooth consistency, much like the ancient civilizations that perfected it long before us. I’ve found several straining techniques that make this task easier. Manual straining with a fine mesh strainer is effective; I simply press the pulp with a spoon to extract every drop. Nut bags are my go-to, allowing me to easily squeeze out the liquid. For high yield, consider a cheese press; it’s a game-changer! Plus, using a reusable filter keeps everything mess-free. Remember, choosing effective tools like nylon nut bags and fine mesh strainers can make all the difference. So, grab your gear and let’s get straining!
Managing Leftover Pulp for Other Recipes
After you’ve strained your nut milk and collected that lovely liquid, you’re often left with a pile of nut pulp. Instead of tossing it out, let’s explore some leftover pulp applications that make for great sustainable recipes. For instance, you can use almond pulp to whip up a delicious raw cheesecake crust—just combine it with desiccated coconut, medjool dates, and a touch of coconut oil. You can also dry it out to create almond flour for your baked goods. Feeling adventurous? Toss some pulp into breakfast smoothies or energy bites for a fiber boost. It’s not just about reusing; it’s a tasty way to reduce food waste while being kind to Mother Earth!
Proper Storage Solutions for Nut Milk
Nut milk storage is more essential than you might think. In the past, people often relied on jars to keep their food fresh, a practice still relevant today. For best results, choose airtight containers made of glass or BPA-free plastic. First, verify they’re clean—using container sterilization methods like washing and drying in sunlight works wonders. After pouring in your nut milk, label your containers with the date for easy tracking. Store them at the back of the refrigerator, ideally between 32°F and 40°F. This prevents spoilage and keeps your nut milk fresh for up to 10 days. If you’ve made extra, consider freezing it—just know that it might separate upon thawing. Happy storing!
Variations in Nut Milk Recipes
While I’ve always found joy in crafting my own nut milks, exploring variations of these creamy delights adds another layer of excitement to the process. You can start with nuts like almonds, cashews, or macadamias, each offering unique flavor profiles. Soaking methods can vary; for instance, almonds usually soak overnight while cashews can be ready in just 30 minutes! Blending times typically range from 1-3 minutes, depending on desired creaminess. When it comes to sweetener choices, think maple syrup or vanilla extract—add these after blending for a delightful twist. Don’t forget straining techniques; while most require a nut milk bag, some creamy cashew variants skip this, giving you luscious nut milk for all your culinary uses!
Dietary Considerations and Benefits of Nut Milk
Though many people think of nut milk as a modern invention, its roots can be traced back centuries to cultures that thrived on plant-based diets. Today, nut milk serves those with lactose intolerance or dairy allergies, making it an excellent dairy alternative. It’s not just about avoiding dairy; the health benefits are real! Nut milk’s low calorie count and digestive friendliness make it fantastic for various dietary preferences.
Fortified versions even match dairy’s nutritional value, boosting calcium and vitamin D intake. Plus, they’re rich in antioxidants, supporting skin and heart health. Just a cup of almond or cashew milk can add diversity and nourishment to your meals. So, why not give it a try? Your body might just thank you!
Frequently Asked Questions
Can I Use Raw or Roasted Nuts for Nut Milk?
I often choose raw nuts for their clean taste and moisture, but roasted varieties add a richer flavor. Both offer great nut benefits, but the choice depends on the taste and texture I’m after.
How Do I Know When My Nut Milk Has Spoiled?
Nut milk’s like a delicate flower; when it wilts, you’ll know. I trust my smell test first, then a cautious taste test. If something’s off, I toss it—better safe than sorry!
Can Nut Milk Be Heated Without Affecting Quality?
Absolutely, I’ve found that using careful heating methods can preserve nut milk’s quality. While some changes occur, controlled heat treatments maintain nutrients and flavors, making it safe and enjoyable without significant loss in quality.
Is Homemade Nut Milk Suitable for Baking?
Did you know homemade nut milk can be 30% less thick than store-bought? While its unique flavor offers nut milk benefits, you might need baking substitutes for achieving desired results in your recipes.
How Can I Reduce the Thickness of My Nut Milk?
To reduce my nut milk’s thickness, I adjust the nut consistency by adding more water during blending and aim for efficient milk straining afterward, ensuring I get the ideal texture without compromising flavor.