As an Amazon Associate, we earn from qualifying purchases. Some links may be affiliate links at no extra cost to you. Although our opinions are based on curated research, we haven't used these products. Articles generated with AI.

How To Care For Your Blender?
Caring for your blender is key to keeping it humming like a 1950s kitchen appliance. Start by ensuring it’s stable on a flat surface and all parts are dry. Layer your liquids first, then chop ingredients as needed. After blending, fill it with warm water and a drop of soap, blend for 30 seconds, then rinse. For deep cleaning, mix baking soda with vinegar, and watch the magic. Stick around to uncover more must-know tips and tricks!
Key Takeaways
- Always clean your blender immediately after use to prevent residue hardening and odors.
- Use the self-cleaning method with warm water and mild dish soap for quick hygiene maintenance.
- Deep clean using baking soda paste for stains and vinegar for sanitization.
- Regularly check and lubricate blades and seals to maintain optimal performance.
- Diagnose issues promptly by checking power supply, cord condition, and inspecting for blade dullness.
Pre-Use Preparation
You may be interested
Before I plunge into the details of preparing your blender, it’s fascinating to think about how these quirky kitchen gadgets have evolved over the years. In the early days, blending was a laborious task done by hand. Thankfully, times have changed!
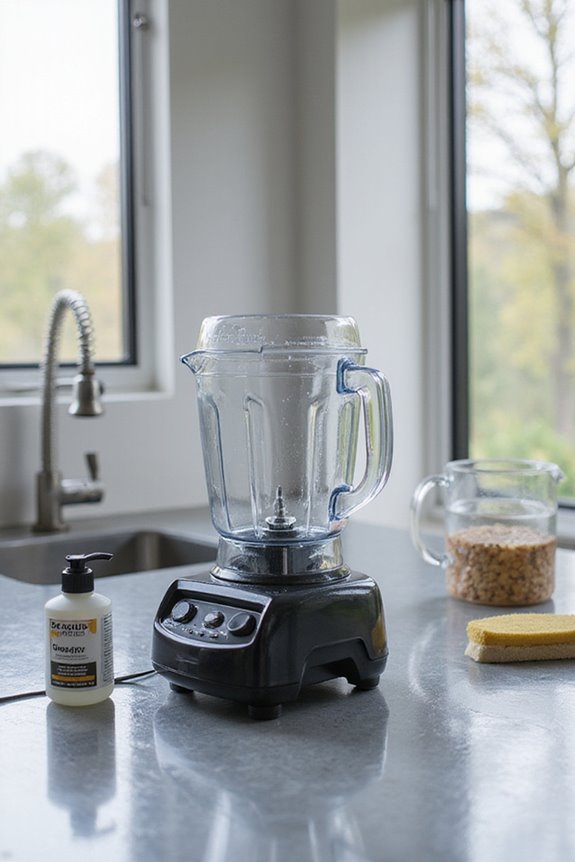
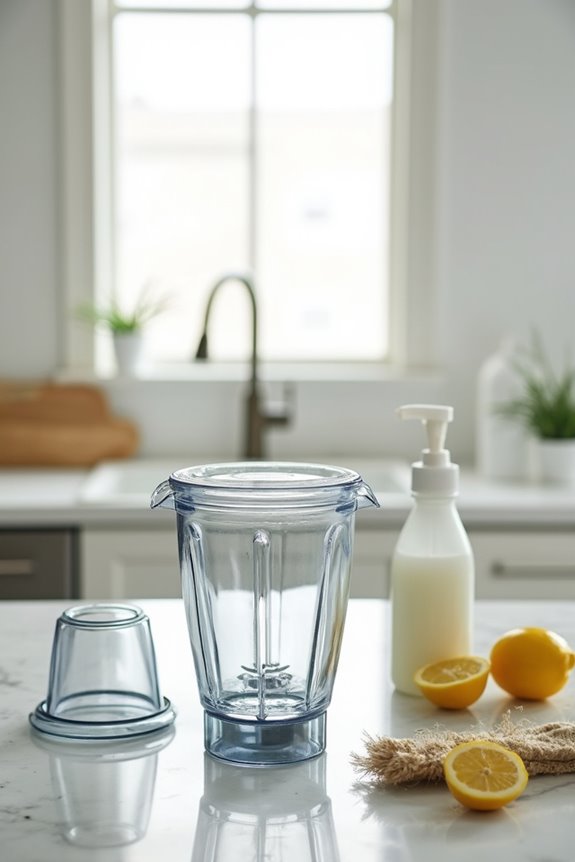
Start your pre-blending setup by ensuring your blender base is stable on a flat, non-slip surface. Before you plug it in, double-check that everything’s dry. Disassemble and inspect all mechanical parts for cleanliness and security.
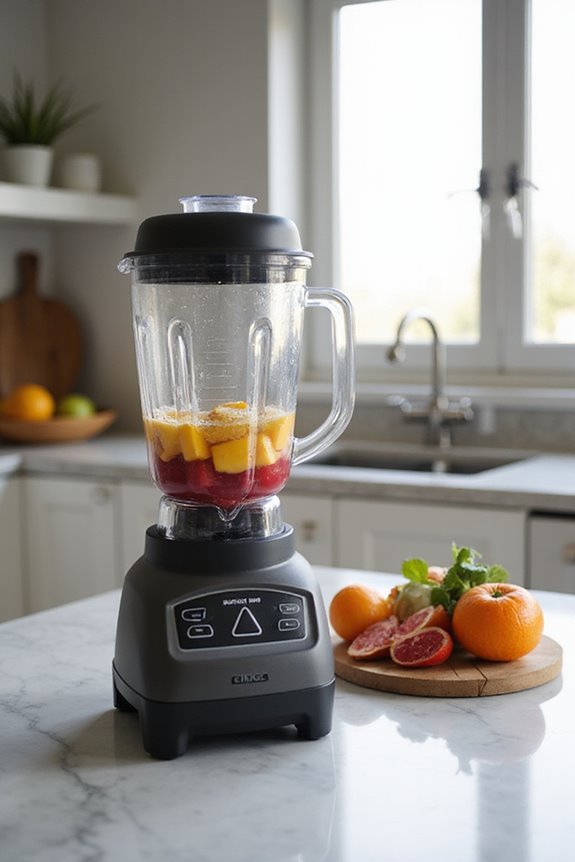
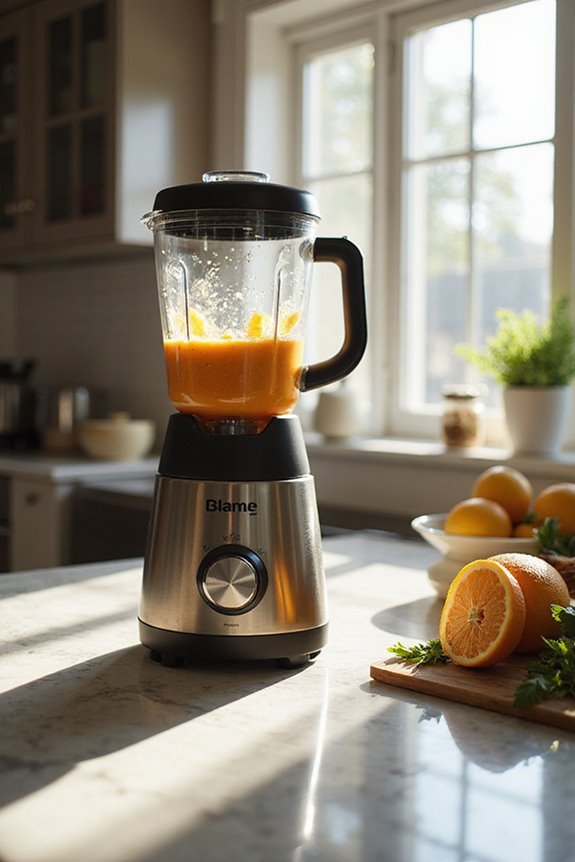
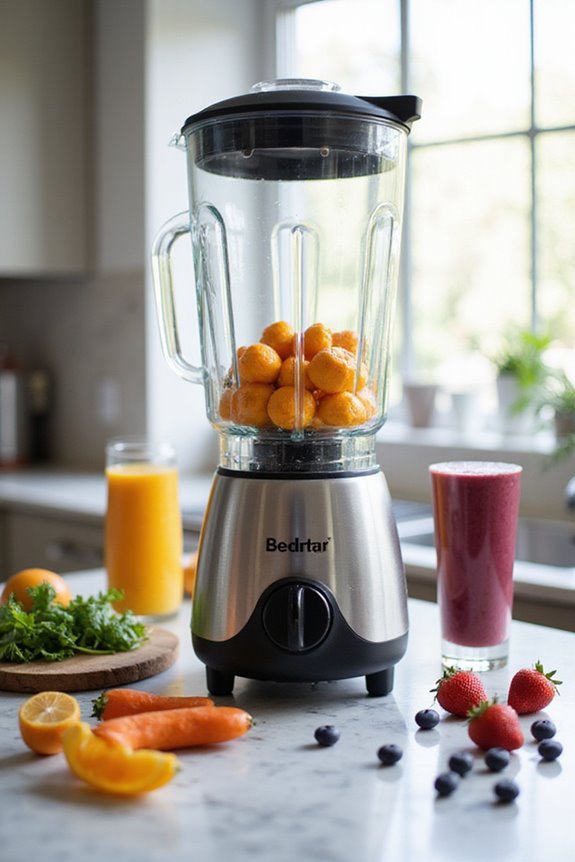
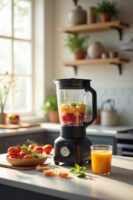
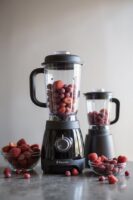
Next comes ingredient organization. Pre-cook veggies, chop large items, and measure ingredients per your recipe—take care not to exceed the maximum fill line. Layer your liquids first to protect the blades, and shake gently to eliminate any air pockets before you start blending.
Immediate Post-Use Cleaning
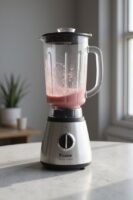
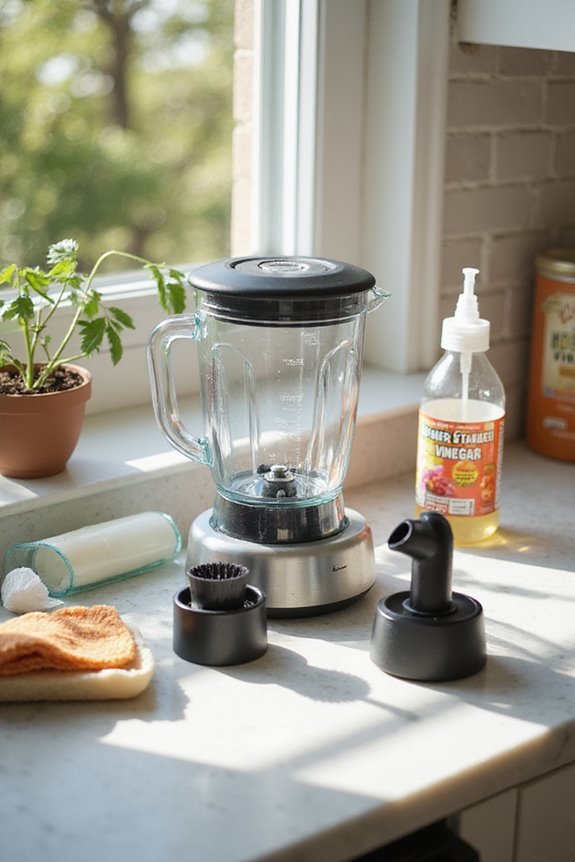
Even though blenders have come a long way since the days of hand-cranked contraptions, I’ve found that caring for them doesn’t have to be a chore. To guarantee residue prevention and hygiene maintenance, I suggest the self-cleaning method right after use. First, fill the blender jar halfway with warm water and add just a drop or two of mild dish soap. Secure the lid and blend on low for 20-30 seconds. This helps loosen any stuck food bits. Rinse thoroughly with warm water to get rid of soap and debris. By tackling this immediately, I keep residues from hardening, avoid odors, and maintain sharp blades. Trust me, you’ll thank yourself later!
Deep Cleaning Techniques
While most blenders today boast advanced technology designed for convenience, deep cleaning them is still an essential part of their maintenance that shouldn’t be overlooked. Historically, baking soda and vinegar have been trusted cleaning agents since ancient times. For a thorough clean, mix equal parts baking soda and water to create a paste. Apply it to stains inside the blender and let it sit for 30 minutes before rinsing. Alternatively, you can combine a vinegar solution of water and white vinegar, then run the blender on high for a few seconds to sanitize it. Both methods are effective and simple, ensuring your blender stays fresh and ready for your next culinary adventure!
Maintenance and Longevity
To keep your blender running smoothly for years to come, it is essential to embrace a routine of maintenance that dates back to the early days of kitchen tools. Just like ancient cooks knew the value of upkeep, I’ve found that regular cleaning and inspections can greatly extend your blender’s lifespan. Aim for cleaning after each use—this eliminates bacteria and prevents residue buildup. Check blades and seals often to maintain performance; even the sharpest blades need attention! A simple lubrication of moving parts can boost efficiency too. Plus, consistent maintenance minimizes the risk of costly repairs. With a little care, your blender could happily whirl away for decades—reducing waste and dish duty! Additionally, using detachable and dishwasher-safe parts can simplify your cleaning routine, making maintenance less of a chore.
Troubleshooting and Repair
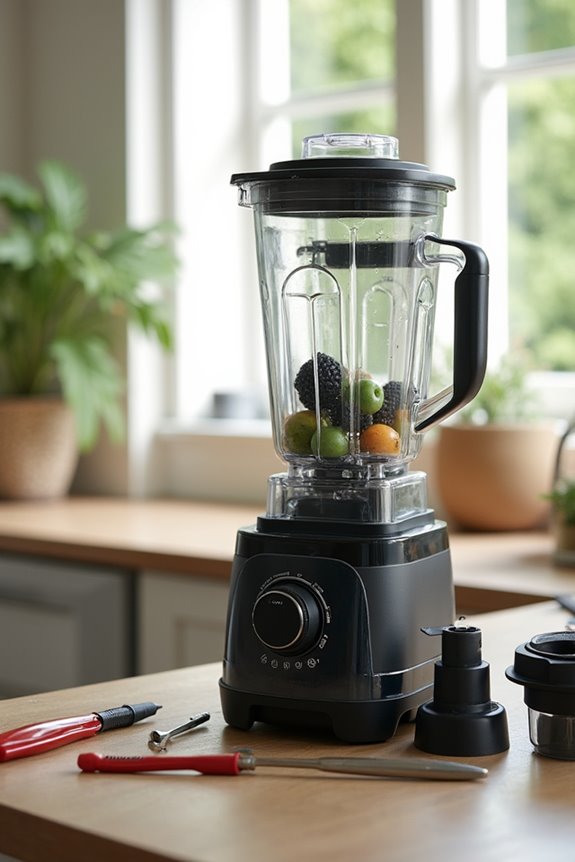
Have you ever wondered why your trusty blender might suddenly struggle to perform? It’s a common mystery! Start by diagnosing issues: notice any symptoms like poor blending, strange noises, or leaks. When did it start? Recent use or long idle time may reveal causes. Check for damage to the power cord—frayed wires can cause serious trouble. If it won’t turn on, check circuit breakers or try resetting it. Dull blades or loose seals can hinder performance too, so inspect those components closely. And if your blender’s digital controls are acting up, verify everything’s powered correctly. Sometimes, a simple fix can restore your blending beast, bringing it back to life for those delicious smoothies.
Frequently Asked Questions
How Often Should I Replace My Blender’s Blades?
I’d recommend checking your blender’s blades every six months for replacement signs like dullness or damage. Proper blade maintenance and timely replacements keep things efficient and can save you money in the long run.
Can I Use My Blender for Hot Liquids?
I often wonder about using my blender for hot liquids. With proper blender safety and hot liquid precautions—like starting slow and partially filling—I’ve blended safely. Just make sure it’s designed for hot liquids to avoid disasters.
Is It Safe to Blend Frozen Fruits?
When I first blended frozen fruits, it felt like an icebreaker—tackling tough challenges. For ideal blender performance, start slow; frozen fruit tips include adding liquid to make everything smoother. Enjoy the delicious adventure of smoothies!
What Materials Are Safe for My Blender’s Components?
When considering blender materials, I always prioritize component safety. I prefer glass or stainless steel, as they’re non-reactive. It guarantees no harmful substances leach, keeping my blends safe and healthy for everyone.
How Do I Know if My Blender Is Powerful Enough for My Needs?
How do I gauge my blender’s power needs? I consider wattage comparison, ensuring it matches my usage patterns. For smoothies, I evaluate consistency; a higher wattage often better blends tough ingredients, enhancing the overall experience.