As an Amazon Associate, we earn from qualifying purchases. Some links may be affiliate links at no extra cost to you. Although our opinions are based on curated research, we haven't used these products. Articles generated with AI.
What Are Common Cocktail Shaker Problems And How To Fix Them?
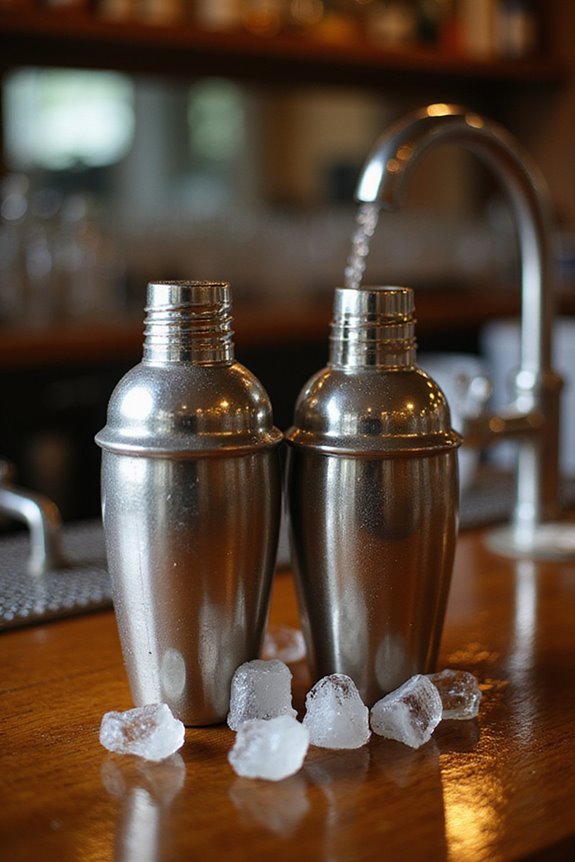
I’ve learned that cocktail shakers can be a bit troublesome, especially with sticky syrups or ice getting stuck. Historically, these handy tools mix drinks from the 1800s, but modern issues include tight seals from temperature changes. If your shaker’s stuck, try wrapping it with a warm towel or running it under hot water for a quick fix. And remember, a little maintenance goes a long way; keep it clean and avoid over-tightening. There’s more I can share about keeping your shaker in top shape!
Key Takeaways
- Sticky ingredients can trap within the shaker; clean immediately after use to prevent residue buildup.
- Metal contraction from cold temperatures can cause tight seals; allow the shaker to rest to ease access.
- Over-tightening the lid complicates shaking; avoid excessive force to maintain easy opening.
- Run stuck parts under warm water or wrap with a hot, damp towel to utilize thermal expansion for easier separation.
- Regular polishing and proper storage help maintain the shaker’s shine and prevent scratches.
Common Causes of Cocktail Shaker Problems
You may be interested


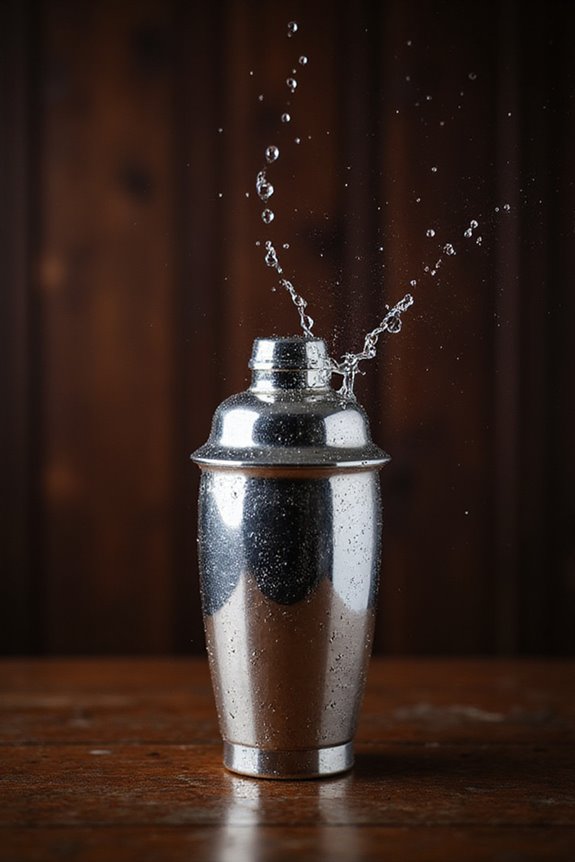
When you’re shaking up a cocktail, it’s easy to overlook the potential hiccups that can arise, especially if you’re new to the craft. Historically, bartenders didn’t always have the luxury of modern tools—imagine shaking in a simple glass jar! Today, sticky ingredients like syrups or citrus can get trapped in the shaker’s strainer or cap, making it a hassle to open. Additionally, dense mixtures can create vacuum effects as the air cools, leading to parts sticking together harder than a pirate’s parrot! To dodge this, be mindful of ingredient consistency and always clean your shaker after use. Remember, avoiding over-tightening the lid can save you from wrestling with an unwilling shaker later. Choosing a model with insulation features can also help prevent condensation and facilitate easier handling. Enjoy shaking!
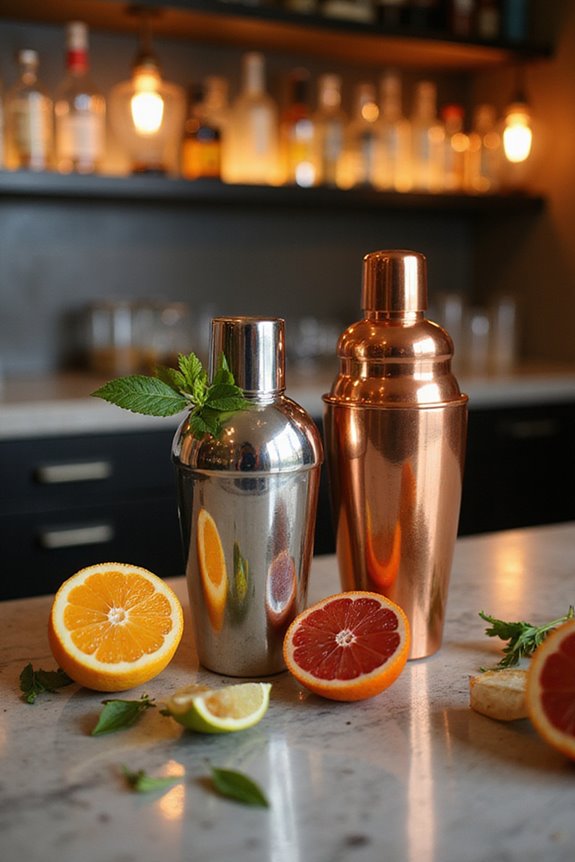
Specific Issues With Metal and Stainless Steel Shakers
Though modern metal and stainless steel shakers offer a sleek look and superior functionality compared to their vintage counterparts, they don’t come without their quirks. One notable issue is metal contraction. When exposed to cold, the parts can tighten and create a challenge during cocktail prep. Additionally, sticky residues from thick ingredients like honey or syrups may harden between surfaces, making it tricky to remove the lid. To avoid these problems, always make sure your shaker is clean after use. A quick tip: if your shaker parts get stuck, running warm water over them can help expand the metal and ease separation. Remember, a little maintenance goes a long way in preserving your cocktail shaker’s charm and efficiency!
Recommended Products

The Breville Super Q is a super-quick, stronger and more personal, commercial grade blender; The most powerful motor, 5 one touch programs and 12 speed settings ensure smooth and soft textures with less noise due to blender's noise suppression technology

SIMPLE COCKTAIL CREATION. Insert a capsule, place a glass on the bar mat and choose the preferred strength from mocktail to strong. The cocktail maker automatically draws the spirit from the bottle and crafts a perfect cocktail in seconds.

ELEGANT DESIGN: The TableCraft 5 Gallon Drink Dispenser features a Tritan reservoir with a brushed stainless steel lid and base, perfect for showcasing colorful cocktails and garnished drinks.
Frequent Problems Encountered During Use
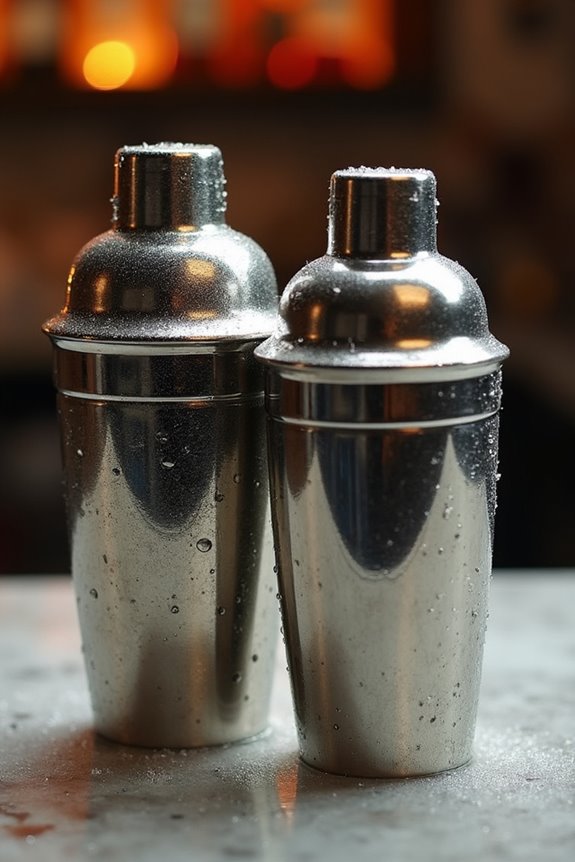
Modern metal and stainless steel shakers might be sleek and functional, but they can throw some curveballs during use. From temperature-related issues to sticky mixtures, I’ve faced my fair share of frustrations. For instance, if the shaker’s been chilling with ice, expect that lid to seal tightly – a classic cocktail shaker technique gone wrong! High-sugar ingredients can create sticking, so always clean your shaker right after use. And be cautious with your user handling; over-tightening can turn a fun cocktail experience into a struggle. Allowing the shaker to rest briefly before twisting opens it up to easier access. Remember, a little care in technique and maintenance can save you from the agony of a stuck shaker!
Recommended Products

1.[HIGH-CAPACITY 9.5 GAL DUAL TANK SLUSH MAKER] – Our commercial 36L unit pumps out about 144 servings per batch. Run one tank or both to keep up with busy bars, restaurants, and convenience stores. Perfect for all‑day events—from parties to peak business hours.

HIGH-SPEED BLENDER WITH POWERFUL PERFORMANCE: 2.4 peak HP motor propels the blades to speeds over 210 mph

PROFESSIONAL MIXOLOGY BARTENDER SET - The Madison Acacia Tabletop Bar Tool Set by Legacy, a Picnic Time brand, is a portable Professional Mixology Bartender Set tailor made for shaking up martinis, manhattans, and chic classic cocktails
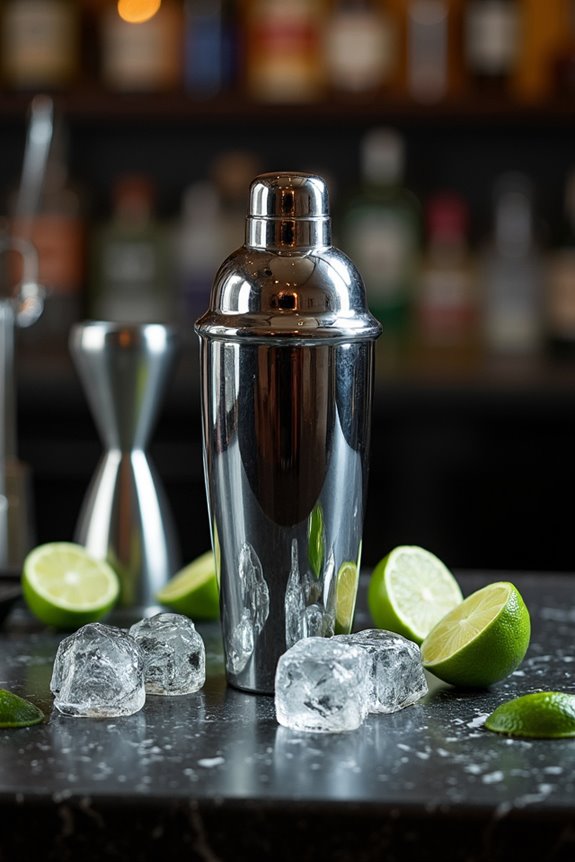
DIY Fixes for Stuck Cocktail Shakers
If you’ve ever struggled with a stuck cocktail shaker, you’re not alone—this issue has confounded home mixologists since the invention of the shaker itself. To free that stuck lid, try wrapping the seam with a towel soaked in hot water for a few seconds. Alternatively, running the lid under hot water after chilling the shaker can use thermal expansion to your advantage. For a more hands-on approach, tap around the lid gently with the heel of your hand or a cloth-covered surface. If all else fails, inserting a thin knife around the edge can create some leverage, but be careful not to apply too much force. With these tricks, you’ll be mixing effortlessly in no time! Remember, maintaining a leak-proof design in your cocktail shaker can also help avoid this common issue.
Recommended Products

Chill drinks, not hands – The double-wall vacuum-insulated stainless steel design keeps cocktails cold without freezing your hands. No more watered down drinks or condensation puddles on your counter. Enjoy crisp, refreshing drinks every time you shake.

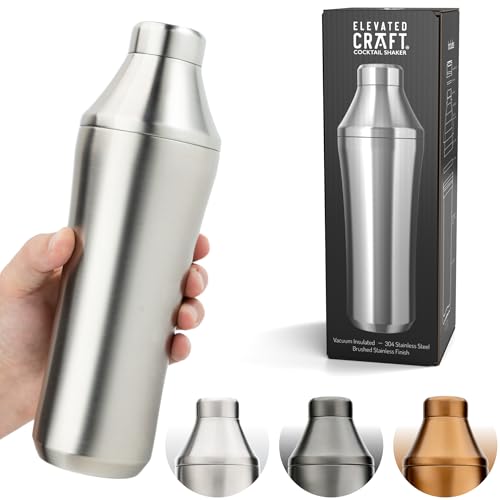
ALL NEW VERSION 2 FOUNDERS TINS! Our brand new Version 2 Boston Tins include several improvements to the classic Piña tin. The new version is the same weight as our original design, but now with thicker side walls for both improved sealing and easier separation.
CHILL DRINKS, NOT HANDS – Double-wall Vacuum insulated design; vacuum insulated design guards against diluting heat transfer to make super-chilled drinks while protecting your hand from painful frostbite; it also means no more condensation puddles on your counter, and clean-up is a breeze because this insulated stainless steel shaker is dishwasher safe!
Advanced Methods for Opening Stuck Shakers
Many mixologists have faced the frustrating challenge of a stuck cocktail shaker, a dilemma that dates back to when these ingenious devices first revolutionized drink mixing. To free your shaker, try temperature techniques like wrapping a hot, damp towel around the base. This expansion can loosen the metal seal swiftly. For a more dramatic approach, immerse it in ice water first, then into hot water—this rapid change can break stubborn bonds.
If you prefer mechanical methods, tap the edge of the top tin against a flat surface to break the vacuum. Alternatively, gentle rotational movements while pulling can work wonders. Remember, patience and a bit of creativity can always save your cocktail creation from a sticky situation!
Recommended Products

The Aer disc container acts like both a muddler and a Cocktail Shaker, extracting essential oils and juice, while at the same time chilling drinks without crushing the ice.(Vitamix Aer Disc Container)

Small Round Coffee Table: Dimension is 31.5'' x 31.5'' x 18.7 inch. No sharp table corners that could hit your baby and no dangerously fragile. Suit for the apartment decor, couch table, coffee tables, sofa table, side table, cocktail tables for living room

FREEZES WITHOUT ICE: Make slushies out of any beverage you can think of right at home on your countertop: no ice required! Perfect for a classic cherry slushy or frosé, this one-touch drink maker also works as a frozen margarita machine and a frappe maker!
Common Mistakes in Cocktail Shaker Usage
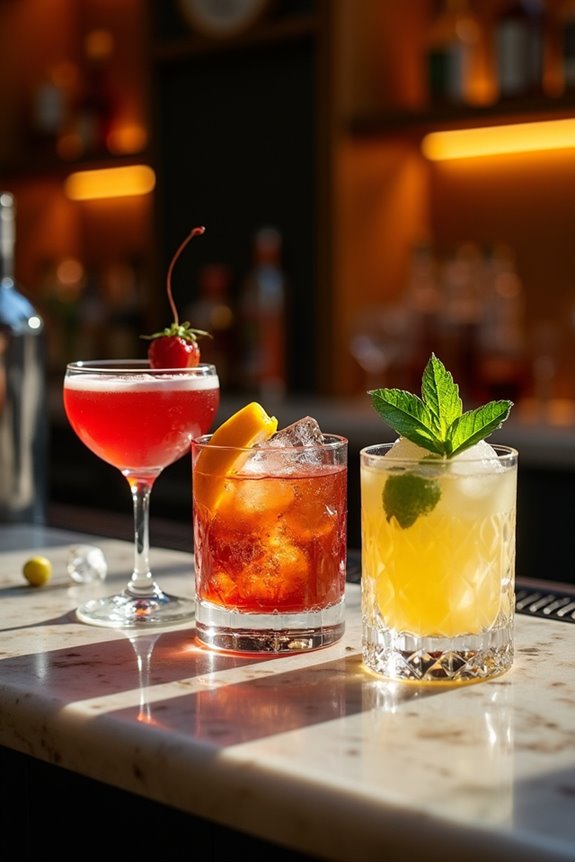
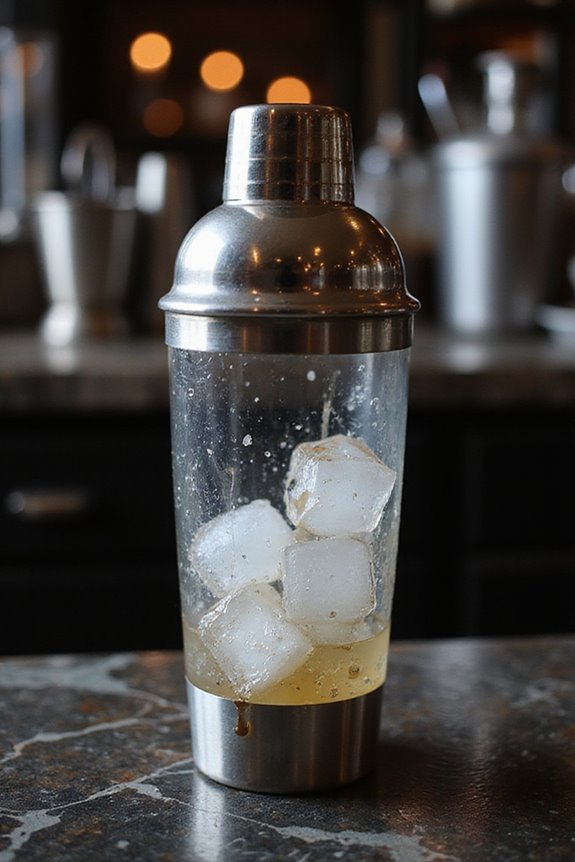
What makes the art of cocktail shaking so enchanting yet complex? Many new bartenders trip over common mistakes that can spoil their drinks. First, consider shaker volume; if it’s too full, ingredients won’t mix well, leading to an uneven ingredient balance. Next, don’t underestimate ice—using improperly sized cubes can dilute flavors. Aim for fresh, solid ice for the best chilling effect. Over-shaking is another no-no; stick to about 10-15 seconds for perfect cooling and dilution without losing flavor. Remember, mastering the shake takes practice. Don’t expect perfection right away—it’s all part of the learning curve. Additionally, having the right tools like high-quality cocktail shaker sets can greatly improve your technique and efficiency. So, embrace the messiness of experimentation, and you’ll find your groove. Happy shaking!
Preventive Measures to Avoid Sticking Issues
Shaking cocktails has a fascinating history, rooted in centuries of mixology experimentation. To avoid sticking issues, it’s essential to master temperature management. Start by using ice cubes or cold water in your shaker; this lowers the temperature and reduces friction. Avoid frozen ingredients—no one wants an ice seal holding things hostage! I’ve found that a quick warm water bath or a hot damp towel can save the day, preventing tight seals.
Incorporating non-stick solutions works wonders too. Consider adding a silicone insert or using a light spray of food-safe non-stick coating before shaking. Always inspect seals to guarantee smooth operation. With these preventive measures, you’ll shake with ease and avoid those pesky sticking problems, all while channeling the spirit of cocktail pioneers!
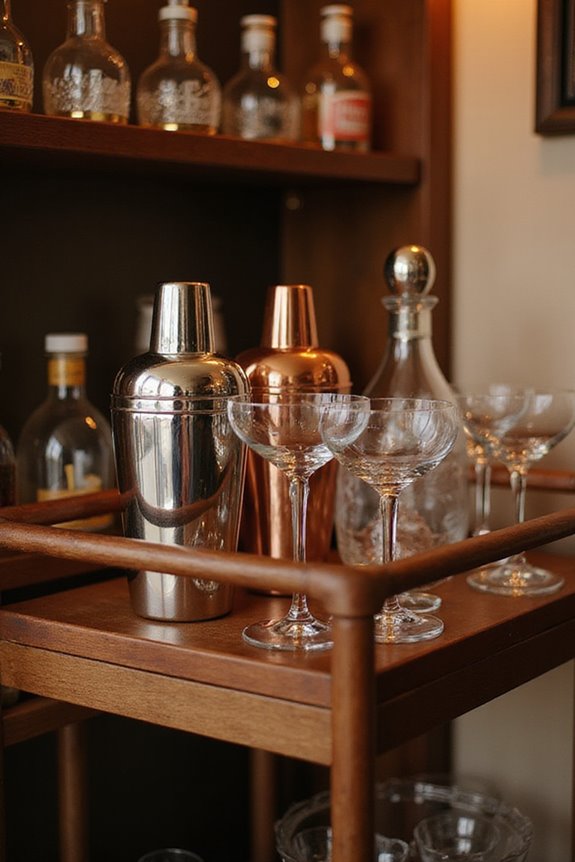
Maintenance Tips for Longer-Lasting Shakers
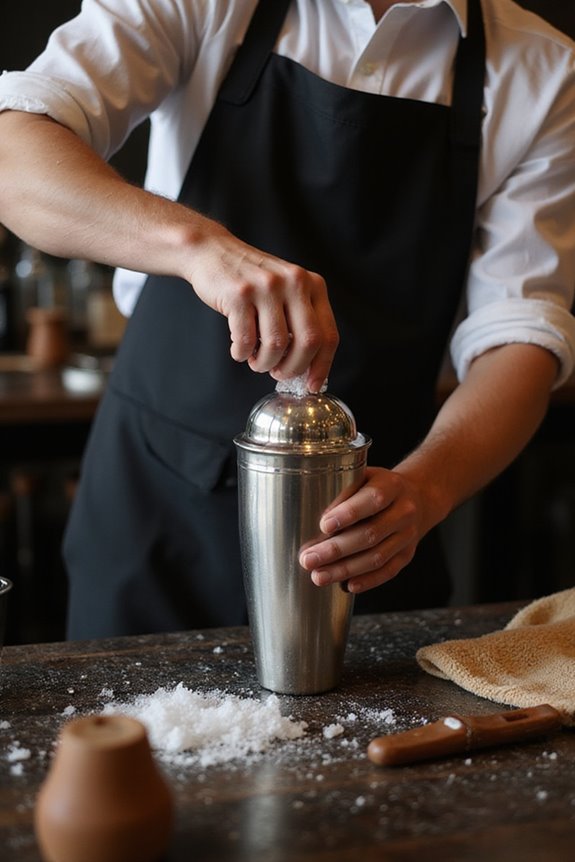
While it may seem like a simple tool, the cocktail shaker has been a staple in mixology for centuries, evolving from rudimentary containers to the elegant shakers we use today. To keep my shaker in great condition, I make certain to clean it thoroughly right after each use, employing effective cleaning techniques like warm, soapy water. I avoid dishwashers to prevent damage. For storage solutions, I always store my shaker upside down to drain water and avoid rust. Also, I keep it separate from other tools, so it doesn’t get scratched. Regularly polishing the shaker helps maintain its shine and professional look. Trust me, these small maintenance efforts guarantee my cocktail shaker lasts for many delightful mixing sessions! Additionally, using rust-resistant materials helps ensure longevity and prevents deterioration from regular use.
Recommended Products

360° Swivel Bar Stools: Enjoy smooth, quiet rotation with a stable base for safety. Easily turn to chat with friends, grab a drink, or adjust your position without leaving your seat. Perfect for patio dining, backyard relaxation, and outdoor gatherings.

High-end materials, outstanding texture: The cocktail table top adopts 5mm stainless steel round brushed anti-fingerprint technology, finely polished edges, and matched with a sturdy metal frame, which is wear-resistant and scratch-resistant, with a delicate touch, showing the modern industrial style aesthetics.

Durable material: The small stainless steel coffee table is made of stainless steel, the tabletop is scratch-resistant and easy to clean, the base is rust-proof, sturdy and durable, and it is not easy to damage after long-term use.
Frequently Asked Questions
Can I Use a Cocktail Shaker in the Dishwasher?
I get it; you want convenience with cocktail shaker maintenance. While some shakers are dishwasher safe, I recommend hand washing delicate ones to avoid damage. Preserving their quality is essential for great drinks and longevity!
What Materials Are Best for Cocktail Shaker Durability?
When considering durability, I prefer stainless steel options for their robustness. Glass shakers look fantastic but require careful handling. For longevity, stainless steel really stands out in my cocktail mixing experiences.
How Do I Know if My Shaker Is Non-Toxic?
To guarantee my shaker’s made from non-toxic materials, I check for food-grade certifications like NSF. I also pay attention to manufacturer claims and user reviews, all essential for shaker safety in my cocktail adventures.
Are There Eco-Friendly Cocktail Shaker Options Available?
You won’t believe how many eco-friendly cocktail shaker options exist! I love using sustainable materials from eco-friendly brands. These shakers not only reduce waste, but they’re also safe and stylish for serving my favorite drinks.
How Often Should I Replace My Cocktail Shaker?
I usually replace my cocktail shaker every 1-3 years, depending on use. I keep an eye out for replacement indicators like leaks or difficulty opening, and follow shaker maintenance tips to extend its life.